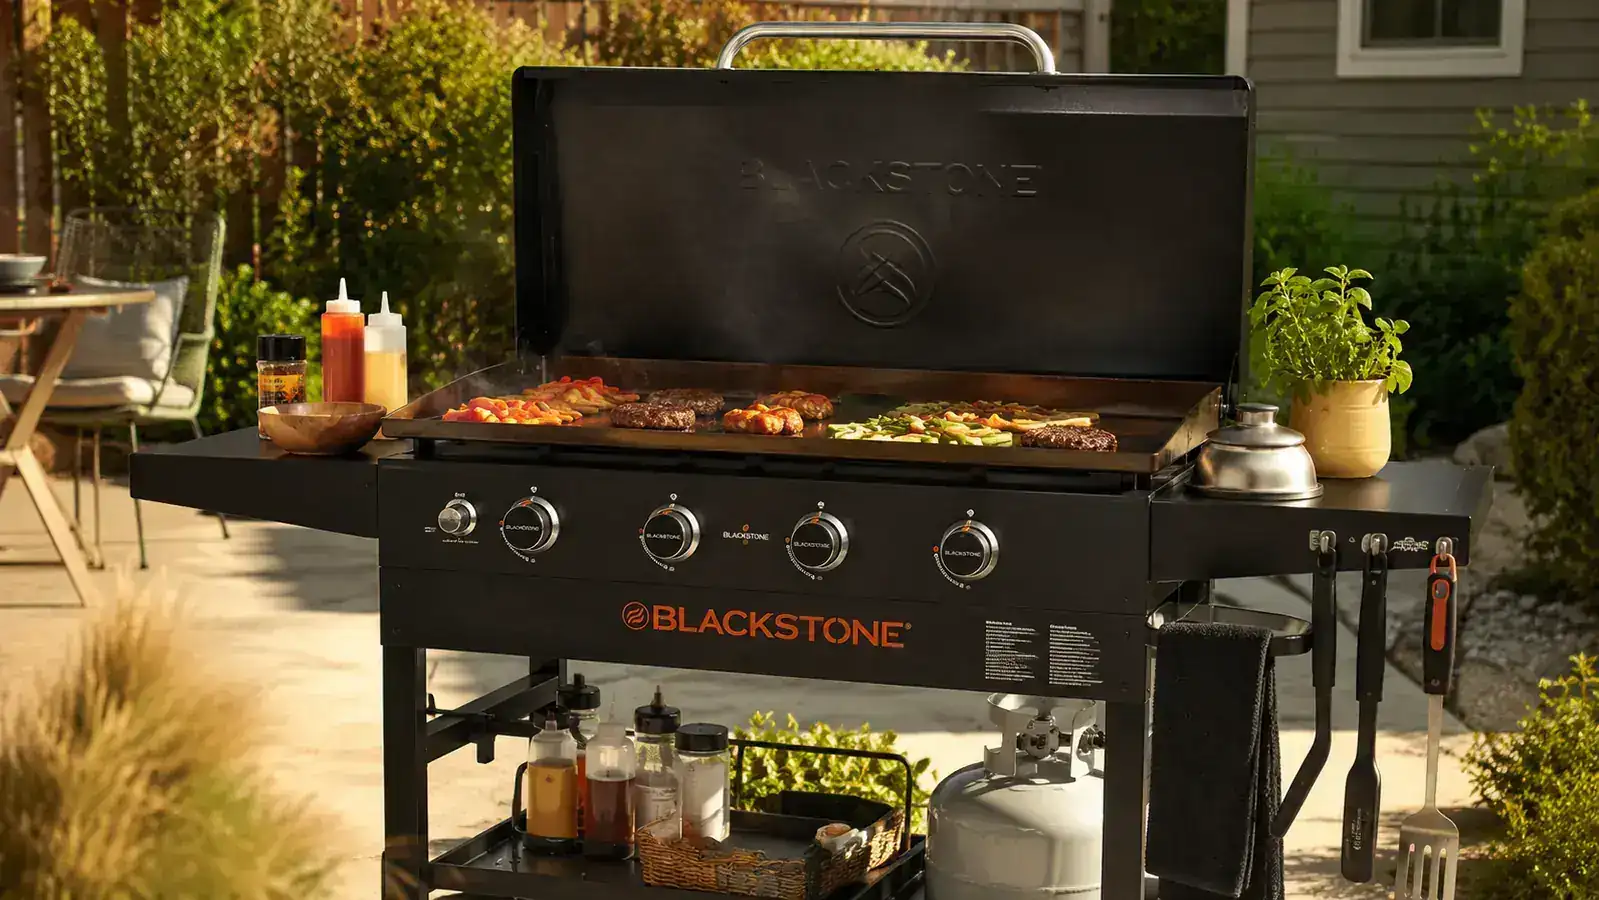
I spent my first three cookouts on the Blackstone feeling like I was fighting the thing. Tools scattered across the side shelf in no particular order, oil dripping off a crumpled paper towel, a spatula handle too hot to grab without yelping. I flipped smash burgers at the wrong moment, burned the onions because I had no resting zone, and scraped grease everywhere except into the trap. The food came out fine, mostly, but the cook was a mess and I knew it. If you have ever stood at a flat top and felt like the griddle was running you instead of the other way around, that is exactly what this guide is for.
The thing that finally turned it around for me was having the right tools in the right places before the first burner clicked on. Once I got the Grilliance 27-piece griddle kit laid out in a real system, the whole session felt different. Everything was where I expected it. The enlarged spatulas handled a full brisket smash without folding. The basting cover trapped steam on the cheese exactly when I needed it. The scraper made cleanup a two-minute job instead of a fifteen-minute one. What follows is the exact setup process I use now, start to finish, every single time I roll out the flat top.
Stop fighting the griddle. The right tools change everything.
The Grilliance 27-piece griddle kit (4.6 stars, 4,356+ reviews) has the enlarged spatulas, burger press, basting cover, and squeeze bottles to turn your Blackstone into a proper cooking station. Check current availability on Amazon.
Amazon Check Today's Price on Amazon →Step 1: Season the Flat Top Before You Touch a Single Tool
Seasoning comes first, full stop. A fresh griddle top is raw steel. It will rust, it will stick, and it will turn every egg into a science experiment if you skip this. I made the mistake of rushing past seasoning on my first Blackstone because I was too excited to cook. I paid for it with flare-ups and rust spots within two weeks. Do not do what I did.
Preheat all burners on high for about ten minutes until the surface starts to show bluish-gray discoloration. That is the steel oxidizing, which is what you want. Fill one of the Grilliance squeeze bottles with flaxseed oil or Crisco. Use a folded paper towel held in the Grilliance tongs and spread a very thin coat of oil across the entire surface, edge to edge. Thin is the key word. Too much oil and you get a gummy, sticky layer that never fully polymerizes. Burn that thin coat until the smoke nearly stops, usually four to five minutes. Repeat the oil-coat-and-burn cycle three more times. By the fourth coat, the surface should be a dark bronze-black. That is your seasoned cooking surface. The Grilliance squeeze bottle makes each oil application fast and controlled, which matters on a surface this hot.
After the final season coat, kill the burners and let the griddle cool completely before moving on to tool setup. Rushing a hot griddle with room-temperature equipment is how you warp a side shelf or burn yourself during the layout step.
Step 2: Arrange the Grilliance Tools by Cook-Order Logic
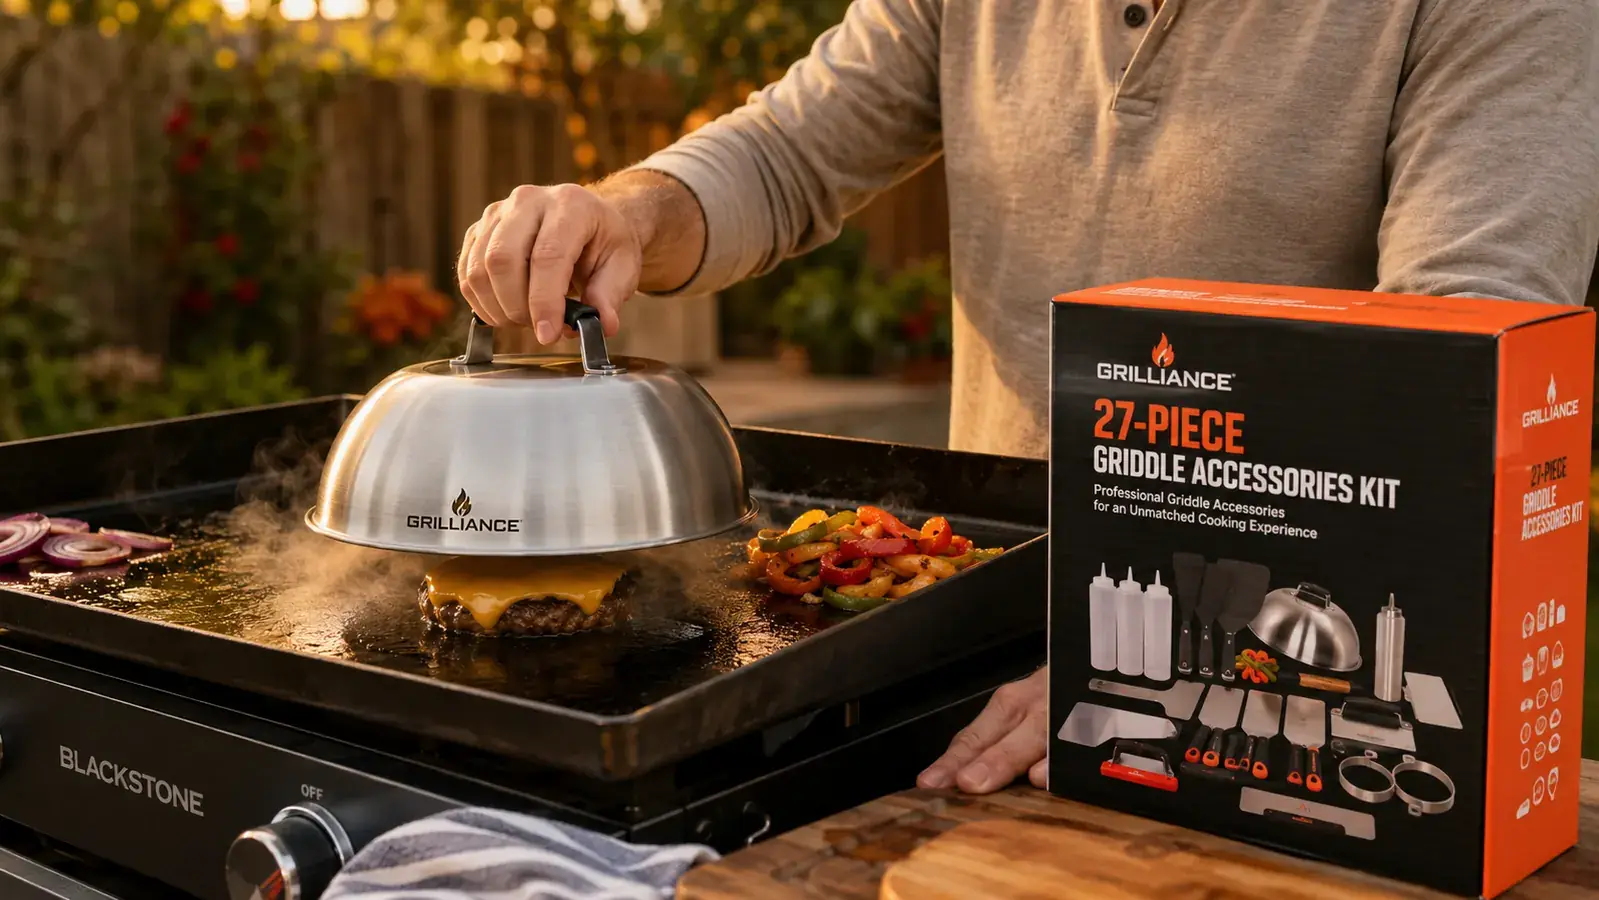
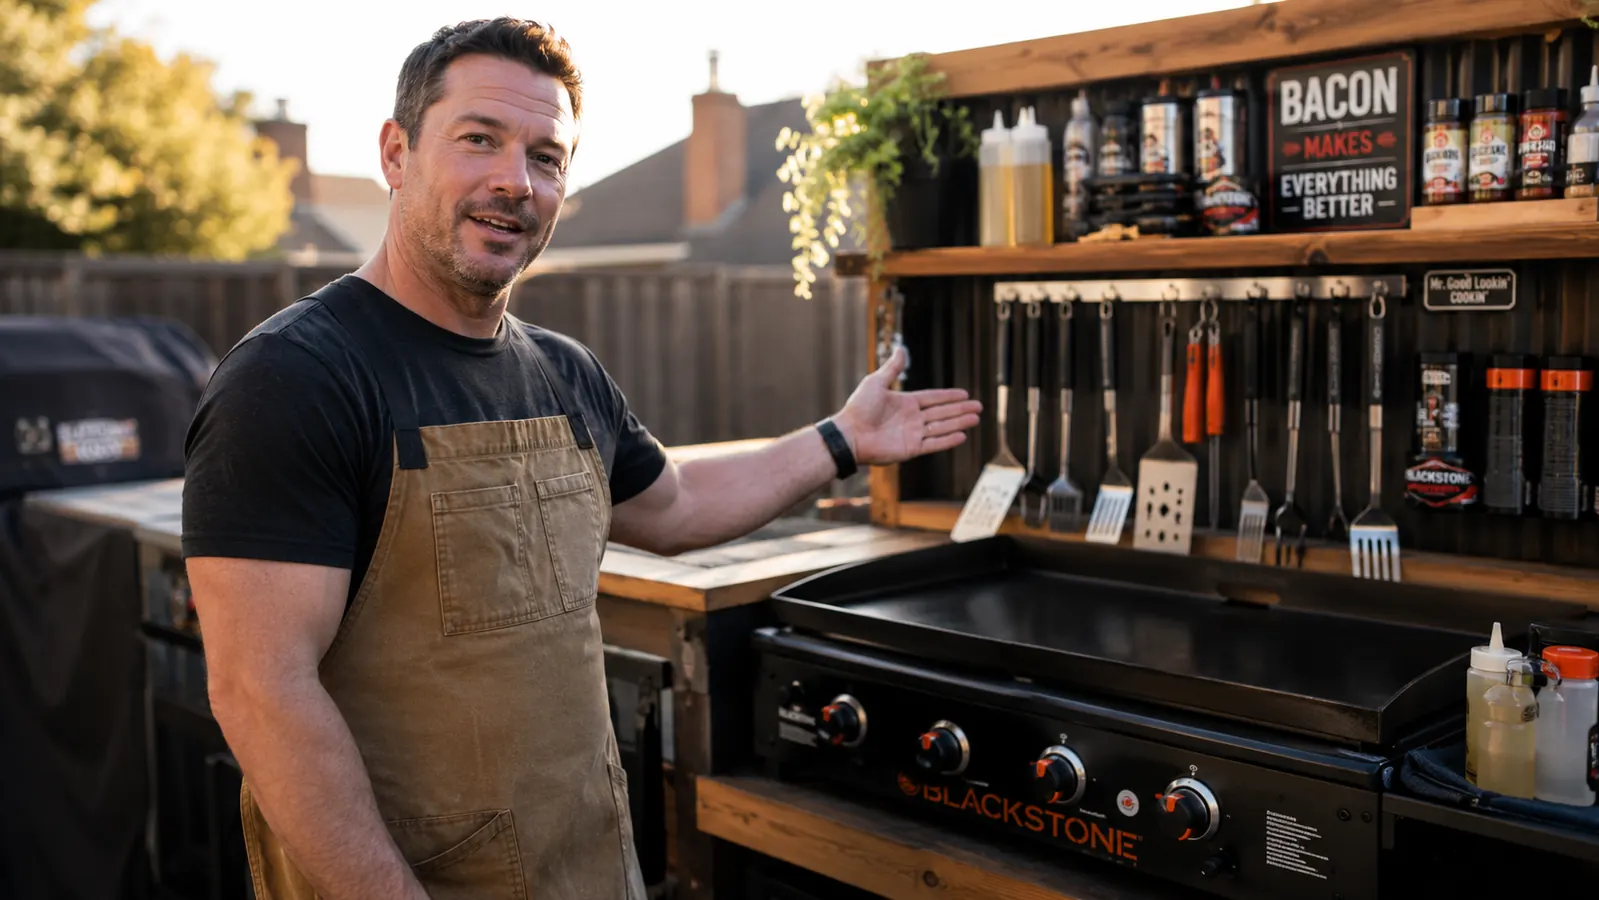
Here is where most people waste time during a real cook: grabbing the wrong tool because it ended up in the wrong spot. I use a simple left-to-right rule for the Blackstone's side shelf. Everything that touches the food first goes on the left, closest to the cooking surface. Everything that supports or finishes the cook goes center. Everything for cleanup goes far right.
Left side, first-contact tools: both enlarged spatulas within easy reach, the burger press right next to them, and the basting cover lying flat so I can grab it in one motion. Center shelf: the two squeeze bottles (one oil, one water), the salt shaker and pepper, and any sauce bottles I'm using that session. Right side, cleanup tools: the scraper, the chopper, and the bench scraper set on their handles so the blades point away from me. The extra squeeze bottle I leave empty near the grease trap for oil management during the cook. It takes about ninety seconds to lay this out before firing the burners, and it saves you five or six awkward searches during a hot session.
One thing I learned after burning a knuckle: always check that the handles on the spatulas are pointing outward, away from the hot surface. The Grilliance handles stay cool during normal use, but if the blade is resting on a 500-degree surface and the handle is pointed toward the cooking zone, you are going to brush that handle with your forearm eventually. Point them out. Every time.
Step 3: Establish Your Heat Zones Before Any Food Goes On
The flat top is not one surface. It is three surfaces layered by temperature, and managing those zones is what separates a chaotic griddle cook from a smooth one. On a four-burner Blackstone, I run the two left burners on high, the middle-left on medium, and the far right on low or off. That gives me a sear zone, a cook-through zone, and a rest-and-hold zone in one continuous surface.
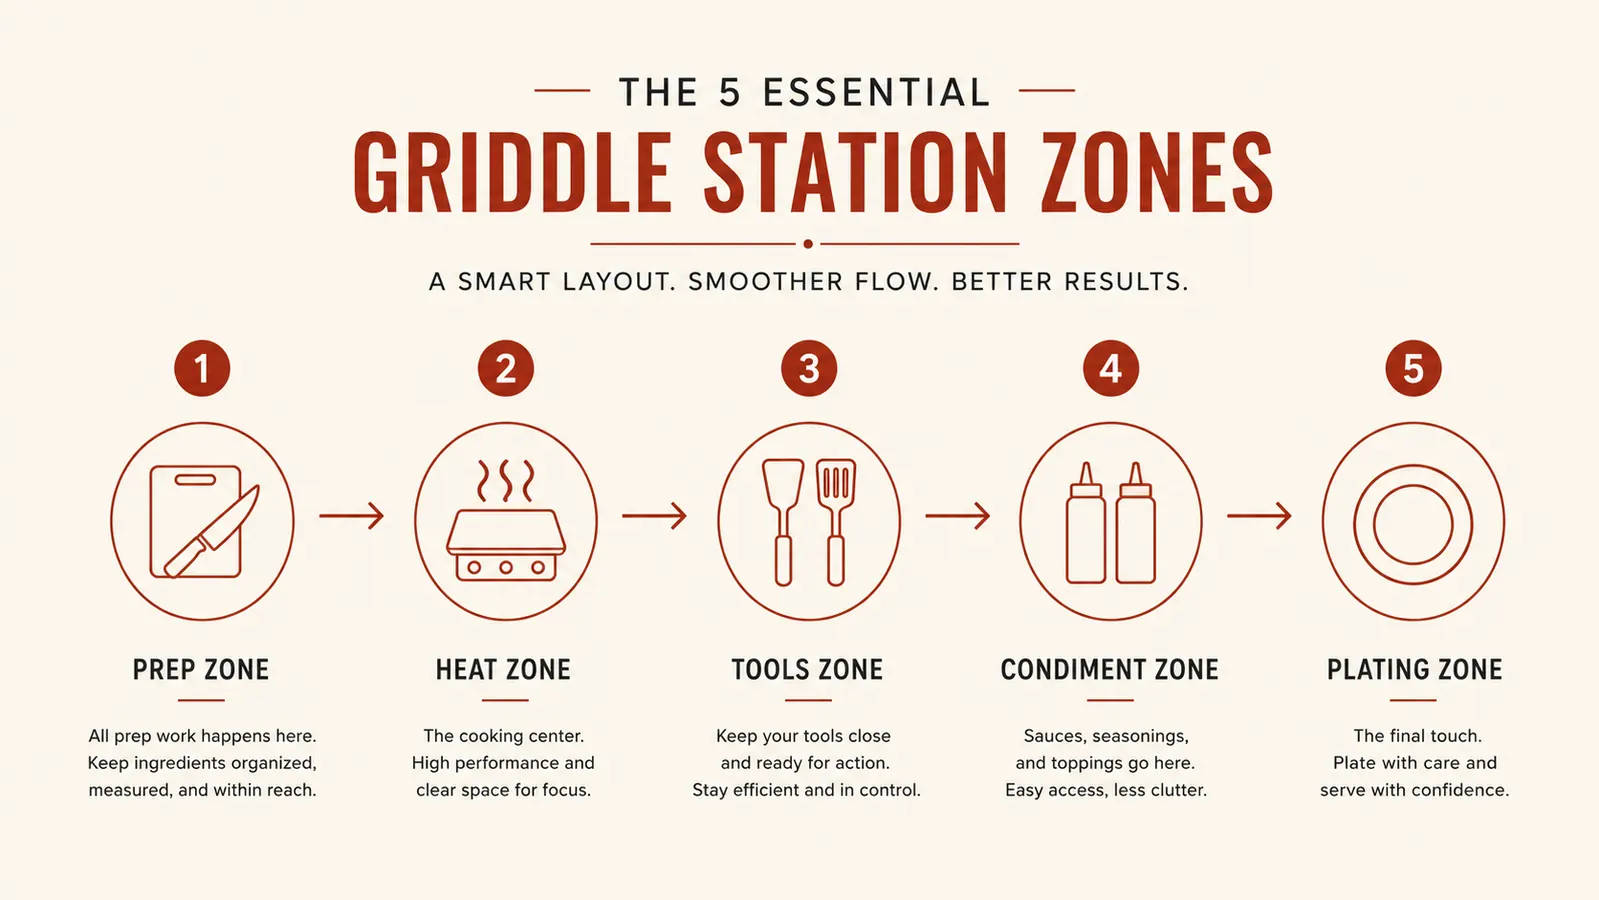
The reason this matters so much for smash burgers specifically: you want maximum heat for the initial smash and sear, then the ability to move the patties to medium heat while the cheese melts under the basting cover, then a cool zone to hold the finished burgers while you toast buns. Without a designated rest zone, the first burgers are cold by the time the last ones come off. With the Grilliance basting cover, you trap steam and melt cheese in about forty-five seconds on the medium zone. It is genuinely faster and more reliable than any oven.
Preheat on high for eight to ten minutes before your first food goes down. You want the surface to read around 400 degrees Fahrenheit on the high side. A drop of water should dance and evaporate almost instantly. If it just sits there and steams, you are not hot enough yet. The Grilliance spatulas are wide enough that you can do a quick oil-and-test drag across the surface to check heat distribution before loading your first proteins.
Step 4: Run the Cook Session With Zone Awareness and the Right Tool Sequence
A real flat top session is a flow, not a series of separate tasks. Here is how I run smash burgers from first ball drop to plate, using the full Grilliance kit:
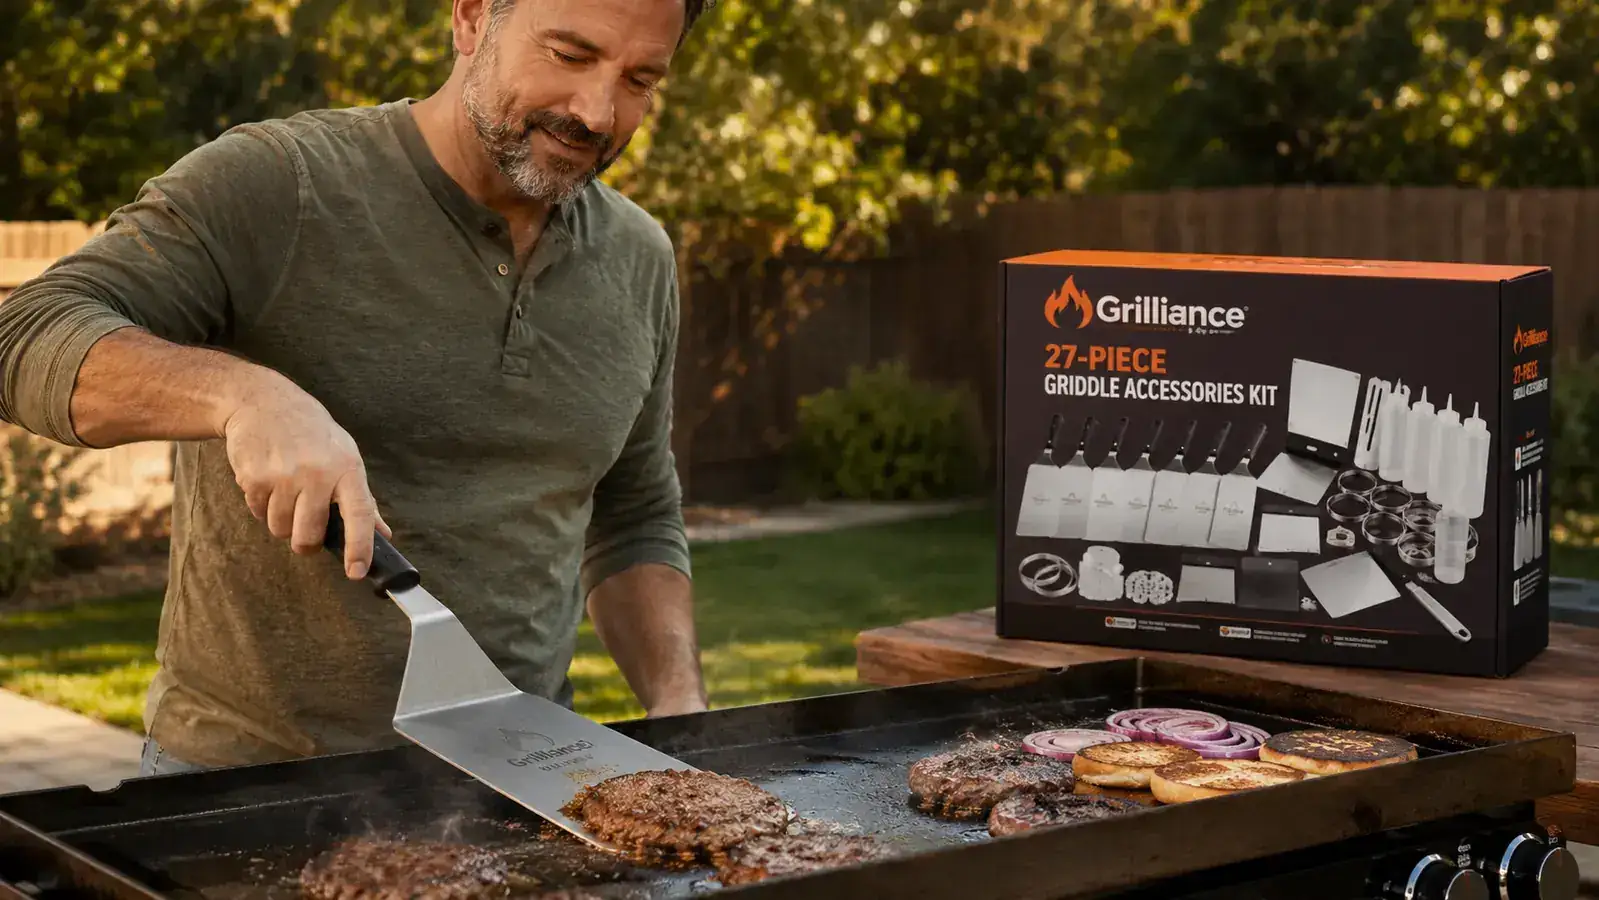
Oil the hot zone lightly with the squeeze bottle. Drop your loosely-packed 3.5-ounce beef balls onto the high-heat zone, spacing them by about three inches. Let them sear for exactly ten seconds untouched. That initial contact point is where your crust starts building. Grab the burger press, set it on top of a ball, and press down with your full body weight for ten to fifteen seconds. You want a flat disc around four inches wide and about a third of an inch thick. Season immediately with salt and pepper directly on the upward face. Cook thirty to forty-five seconds until the edges are fully gray, then use the large Grilliance spatula to flip in one clean motion. The wide blade means you get the whole patty in one shot without folding edges. Add cheese, cover with the basting cover, and move to the medium zone. Forty to fifty seconds later, the cheese is fully melted. Move the finished burger to the rest zone. Repeat.
Onions and peppers run on the medium zone the whole time, pushed to the center with the smaller spatula. They do not need the sear zone heat. Toast buns on the rest zone by placing them cut-side down for thirty to forty-five seconds. The whole sequence for six smash burgers runs about twelve minutes once you have the zones dialed in. That is faster than a conventional grill because you never lose time to flare-ups.
The zones are the system. Once I stopped treating the flat top like one big hot plate and started working the zones, every cook got faster and cleaner. The Grilliance kit gave me tools sized for the flat top, not repurposed grill tools fighting the surface.
Step 5: Clean Up Fast With the Scraper and Squeeze Bottles While the Surface Is Still Hot
Cleanup on a flat top is the part that makes new owners quit. It looks like a mess. Grease pooling, bits of onion stuck in the corners, the seasoning layer looking like it took a beating. But here is the thing: the best cleanup window is immediately after the cook, while the surface is still hot. Everything comes off in two to three minutes with the right sequence. Let it cool and you are scraping hardened carbon for twenty minutes.
While the surface is still at around 350 degrees, use the Grilliance scraper to push all the food debris and pooled grease toward the front-center grease trap. Long, firm strokes from the back edge forward. Work both sides toward the center. Once the heavy debris is cleared, squeeze a modest pour of water from the squeeze bottle directly onto the hot surface. It will flash into steam immediately and lift the remaining carbon off the seasoning layer. Scrape the loosened material toward the trap. One or two water-and-scrape passes cleans about ninety percent of the surface. Finish with a thin oil coat on the still-warm surface to protect the seasoning overnight. The Grilliance scraper has enough blade width to clear the full 36-inch surface in about six passes, which beats narrower scrapers that make you work twice as hard.
Put the tools back in their left-to-right positions on the shelf so they are ready for the next cook. The entire cleanup cycle, water-scrape-oil-put away, should take about four minutes. If it is taking longer than that, you are probably working a cold surface. Learn the hot-cleanup habit and you will stop dreading the end of a griddle session.
What Else Helps
The system above covers the core workflow, but a few extra habits make a real difference over a full grilling season. First, keep a dedicated paper towel roll near the right side of the shelf. You will use it every session for the final oil coat and for wiping down the outside of squeeze bottles so they do not get gummy. Second, empty the grease trap into a metal can (not plastic, that grease is still hot) before every third or fourth session. A full trap will overflow mid-cook if you get into a large session with burgers and smash-fried rice. Third, cover the griddle with a fitted cover between sessions. Rain on a seasoned surface is recoverable with re-seasoning, but it is extra work that a ten-dollar cover prevents entirely.
If you want to go deeper on what every piece in the Grilliance kit does and which tools I reach for most often across a full season, the full kit review covers all of that with specifics on spatula flex, burger press weight, and basting cover sizing. And if you are weighing this kit against a competitor set before you buy, the comparison guide on Grilliance versus Cuisinart breaks down value per piece with side-by-side specs.
The flat top is one of those things that rewards system-building more than almost any other piece of backyard equipment. A gas grill forgives chaos because the heat is indirect and forgiving. A flat top does not. Every square inch is at temperature, and without a layout plan and a tool sequence that matches your cook, you spend the session reacting instead of cooking. The Grilliance kit is built for the flat top in a way that general grill tool sets are not: wider spatula blades, a burger press that handles real smash pressure, a basting cover sized for a Blackstone's cooking surface, and squeeze bottles that give you fine control on oil and water. Set it up right the first time and every cook after that gets a little smoother.
Your flat top station is one kit away from actually working.
The Grilliance 27-piece griddle accessories kit is rated 4.6 stars by 4,356+ backyard cooks and includes everything you need for the setup above: two enlarged spatulas, burger press, basting cover, scraper, and squeeze bottles. Check today's price on Amazon.
Amazon Check Today's Price on Amazon →