
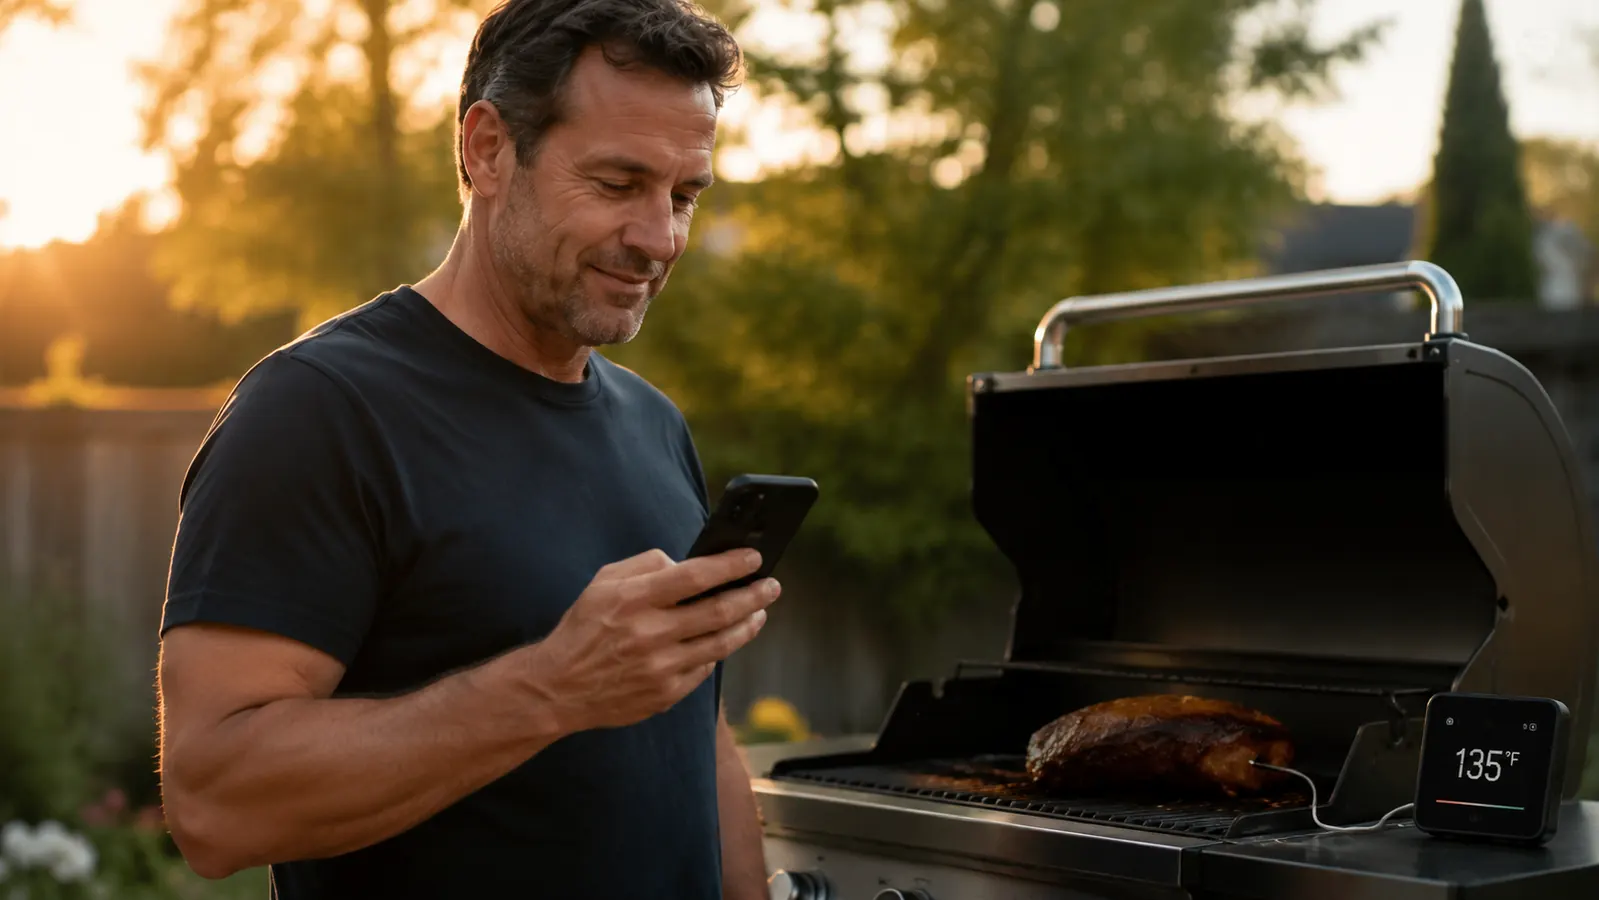
I have ruined more meals by guessing doneness than I care to admit. There was the 2019 Fourth of July where I pulled a pork shoulder three hours too early because it felt done to me. My neighbor Dave still brings it up. There was the overcooked brisket that turned into beef jerky because I panicked and kept lifting the lid. If you have been grilling for any length of time, you know the feeling: you poke a piece of meat, hope for the best, and then watch it either bleed on the plate or sit there like a hockey puck. The fix is simpler than you think, and it costs less than a tank of propane.
Once I started cooking with the MEATER Plus wireless thermometer, the guesswork came off the grill entirely. I now know, down to the degree, exactly where every piece of meat sits at any given moment -- and I know how long it has until it is done, without standing over the grill staring at it. This guide walks you through exactly how I use it, step by step, for every major cut. I will also include the USDA safe internal temperatures and the target temps that actually produce great food, because those two numbers are not always the same.
Stop cutting into your meat to check -- the MEATER Plus does the work for you
The MEATER Plus gives you real-time internal temp, ambient grill temp, and an AI-driven estimated finish time, all on your phone from up to 165 feet away. No wires, no fumbling, no guessing.
Amazon Check Today's Price on Amazon →Step 1: Understand What the MEATER Plus Is Actually Measuring
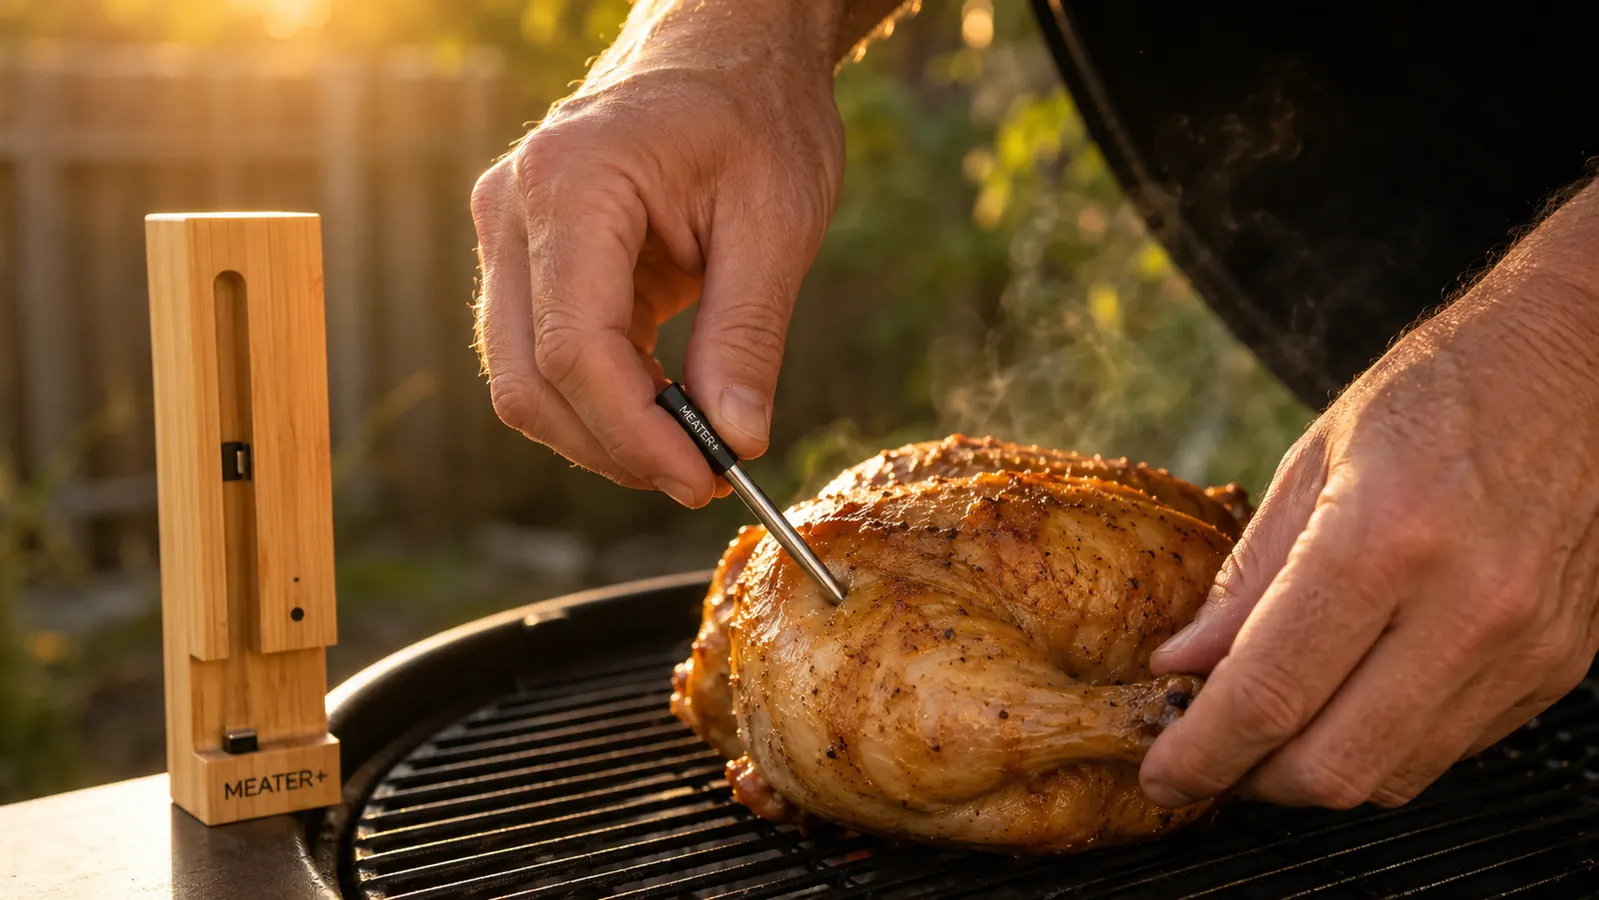
Before you stab a probe into your first brisket, it helps to know what you are working with. The MEATER Plus has two temperature sensors in one probe: the tip sensor reads the internal temperature of your meat, and an ambient sensor near the base reads the temperature inside your grill or smoker. Both numbers stream live to the MEATER app on your phone over Bluetooth, and the app uses those two readings together to calculate an estimated finish time. That estimate gets more accurate as the cook progresses.
The probe is completely wireless and runs off a single AA battery stored inside the bamboo charging block it comes with. One charge is good for around 24 hours of use. The range is advertised at 165 feet. In my Memphis backyard with a wood fence and a neighbor's shed in the way, I reliably get about 80 to 100 feet before the app starts complaining. That is still enough to sit inside during a four-hour pork shoulder cook and check temps from the couch.
One thing new users miss: the ambient sensor sits just outside the meat surface. Do not bury the probe all the way to the handle. Leave at least half an inch of the silver ambient zone exposed above the meat surface, otherwise you will get a sensor error and a wildly inaccurate ambient reading. The app will flag it, but it is better to start clean.
Step 2: Know Your Target Temps Before You Start the Fire
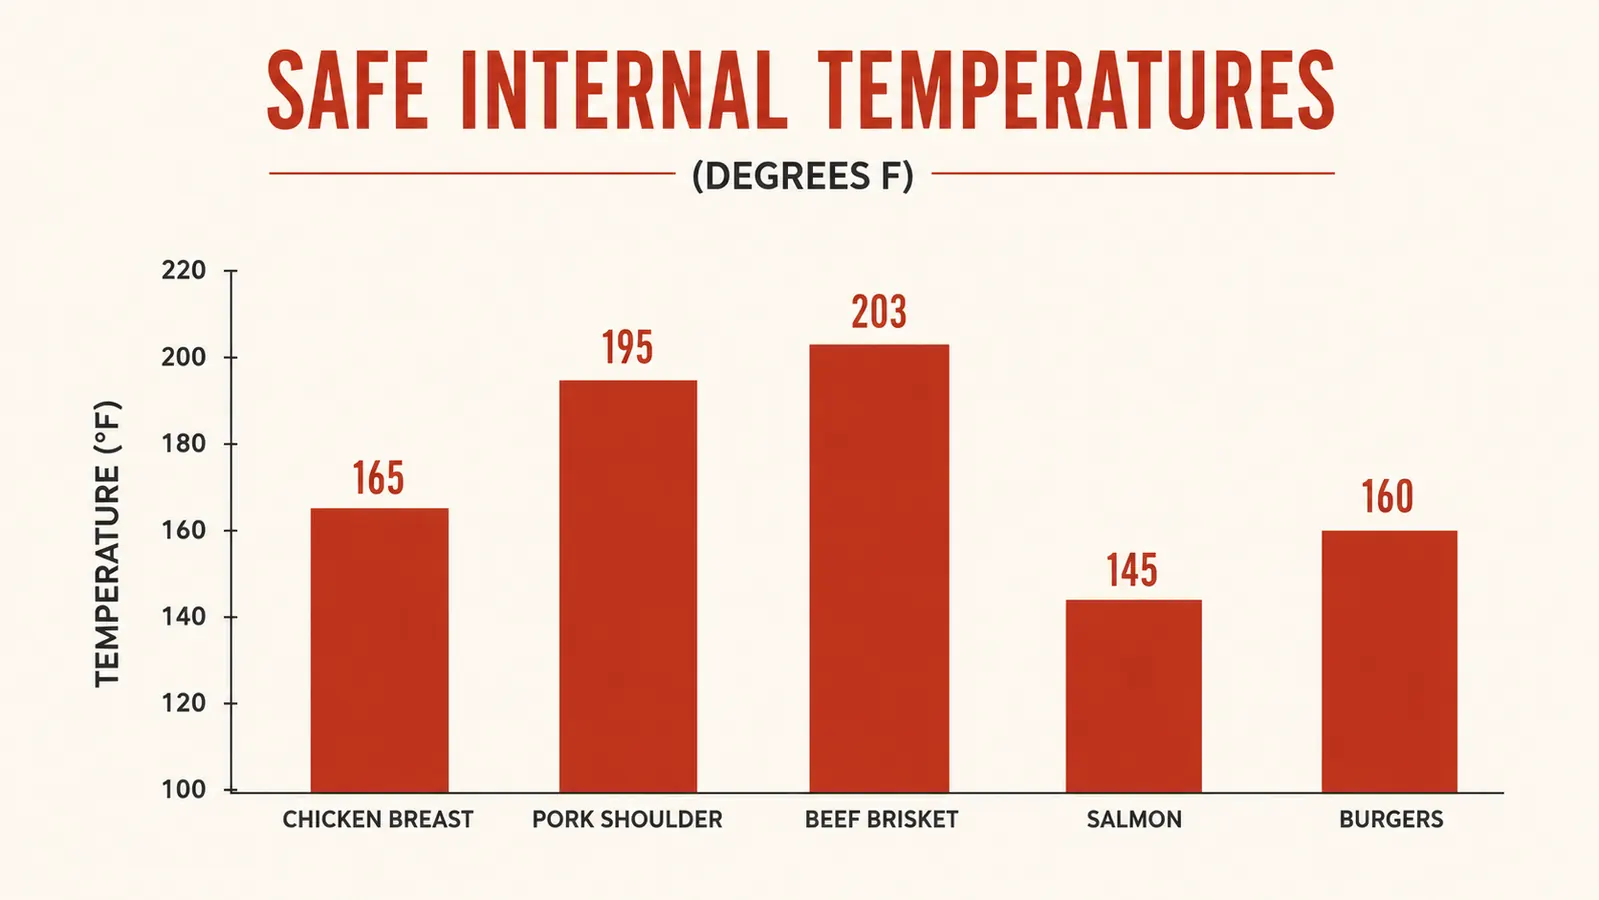
This is where most backyard cooks go wrong. They know chicken needs to hit 165 degrees F, but that is the USDA minimum for safety. That number tells you what is safe, not what is delicious. For pulled pork or brisket, the safe minimum is 145 degrees F, but at 145 the collagen has barely started to break down. You will be chewing through shoe leather. The real target for those cuts is 195 to 205 degrees F, where connective tissue fully converts to gelatin and the meat pulls apart cleanly. Here is a quick-reference table for the cuts I cook most:
Beef brisket: pull at 200 to 205 degrees F, when the probe slides in and out like warm butter. Pork shoulder (for pulling): 200 to 203 degrees F, same probe-tenderness test. Whole chicken: 165 degrees F at the thickest part of the thigh, away from bone. Chicken breast: 160 to 165 degrees F -- I pull at 160 and let it rest because carryover bumps it to safe. Pork ribs: 195 to 203 degrees F for fall-off-the-bone, or 185 to 190 if you prefer a little bite. Steak (medium-rare): 130 to 135 degrees F pull temp, resting to 135 to 138 degrees F. Pork chops: 145 degrees F is the USDA minimum and is genuinely great eating -- do not overcook them past 150 or they dry out fast. Fish fillets: 130 to 140 degrees F depending on the fish and your texture preference. Set these as your target in the MEATER app before the meat goes on the grill.
Step 3: Insert the Probe Correctly and Set Up Your Cook in the App
Insert the MEATER probe into the thickest part of the meat, away from bone. Bone conducts heat differently than muscle tissue, so probing near bone will give you a false-high reading. For a pork shoulder or brisket, aim for the geometric center of the thickest section. For a whole chicken, the inner thigh is the money spot. For a thick ribeye, go in from the side so the tip sits at the center of the steak. Double-check that at least half an inch of the silver band above the metal shaft is exposed and not buried in the meat.
Open the MEATER app, tap New Cook, and select your meat type and the cut. The app will populate a safe USDA target and also an advanced mode target that is usually the higher finishing temp most recipes call for. I almost always use the advanced mode and enter the targets from the chart above. Name the cook if you want (I call mine 'Game Day Brisket' or 'Sunday Shoulder') and hit Start. The app begins logging and the estimated finish time appears within about 10 to 15 minutes once it reads the trend.
Step 4: Manage the Stall -- and Why the MEATER App Helps You Stay Calm Through It
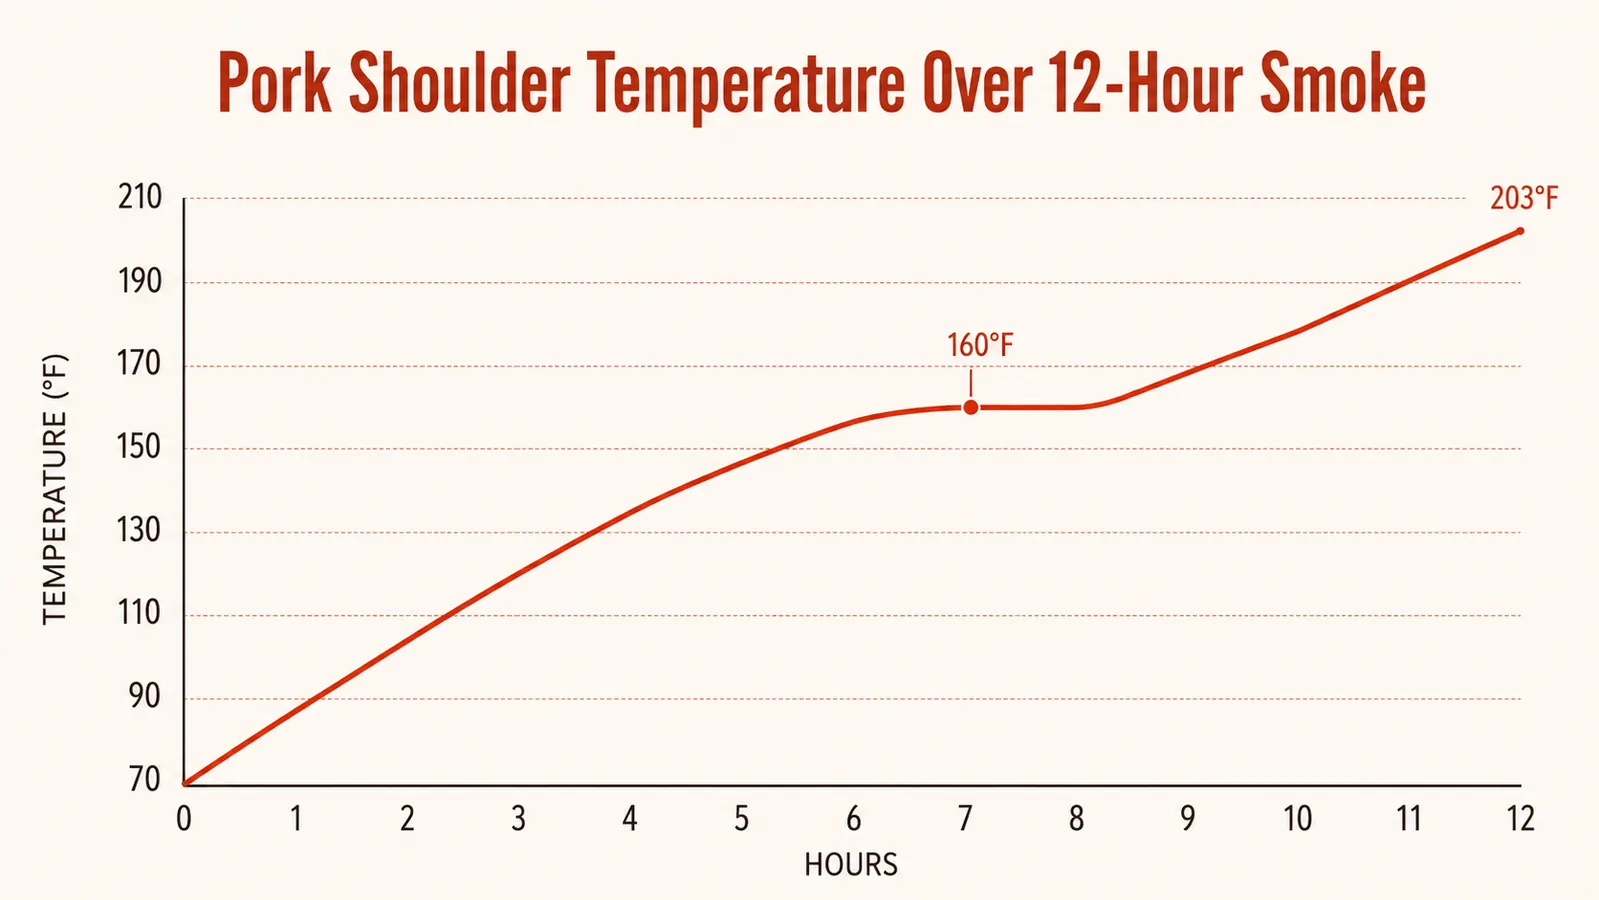
If you have ever smoked a big cut like a brisket or pork shoulder, you have hit the stall. Around 155 to 165 degrees F, the internal temperature stops climbing for what feels like forever -- sometimes two or three hours. This happens because the meat sweats moisture, and that evaporation cools the surface at almost the same rate the grill is heating it. New cooks panic here. They turn up the heat, open the lid constantly, and ruin the bark they spent hours building.
The MEATER app shows you the stall in real time. It plots internal temp against time on a graph, and you can watch the line flatten out into a plateau. More importantly, the estimated finish time will shift later as the stall settles in -- and then the estimate will start tightening again as the stall breaks and temperatures climb. Seeing that graph makes it easier to resist the urge to mess with your cook. I have told myself more than once, while watching that flat line at 160 on the app: 'The data says it is fine, Ray. Leave the lid alone.' It works.
Seeing that flat line on the app at 2 in the afternoon, knowing the shoulder is right on track -- that is the difference between a relaxed cookout and a four-hour anxiety spiral.
If you want to push through the stall faster, the Texas Crutch is your friend: wrap the brisket or shoulder tightly in butcher paper or foil once it hits 165 to 170 degrees F. The wrap traps moisture and steam, pushes through the stall in about half the time, and protects the bark. Pull the wrap when the internal temp hits about 195 and let it finish unwrapped for the last 8 to 10 degrees so the bark firms back up.
Step 5: Rest the Meat and Read the Final Numbers
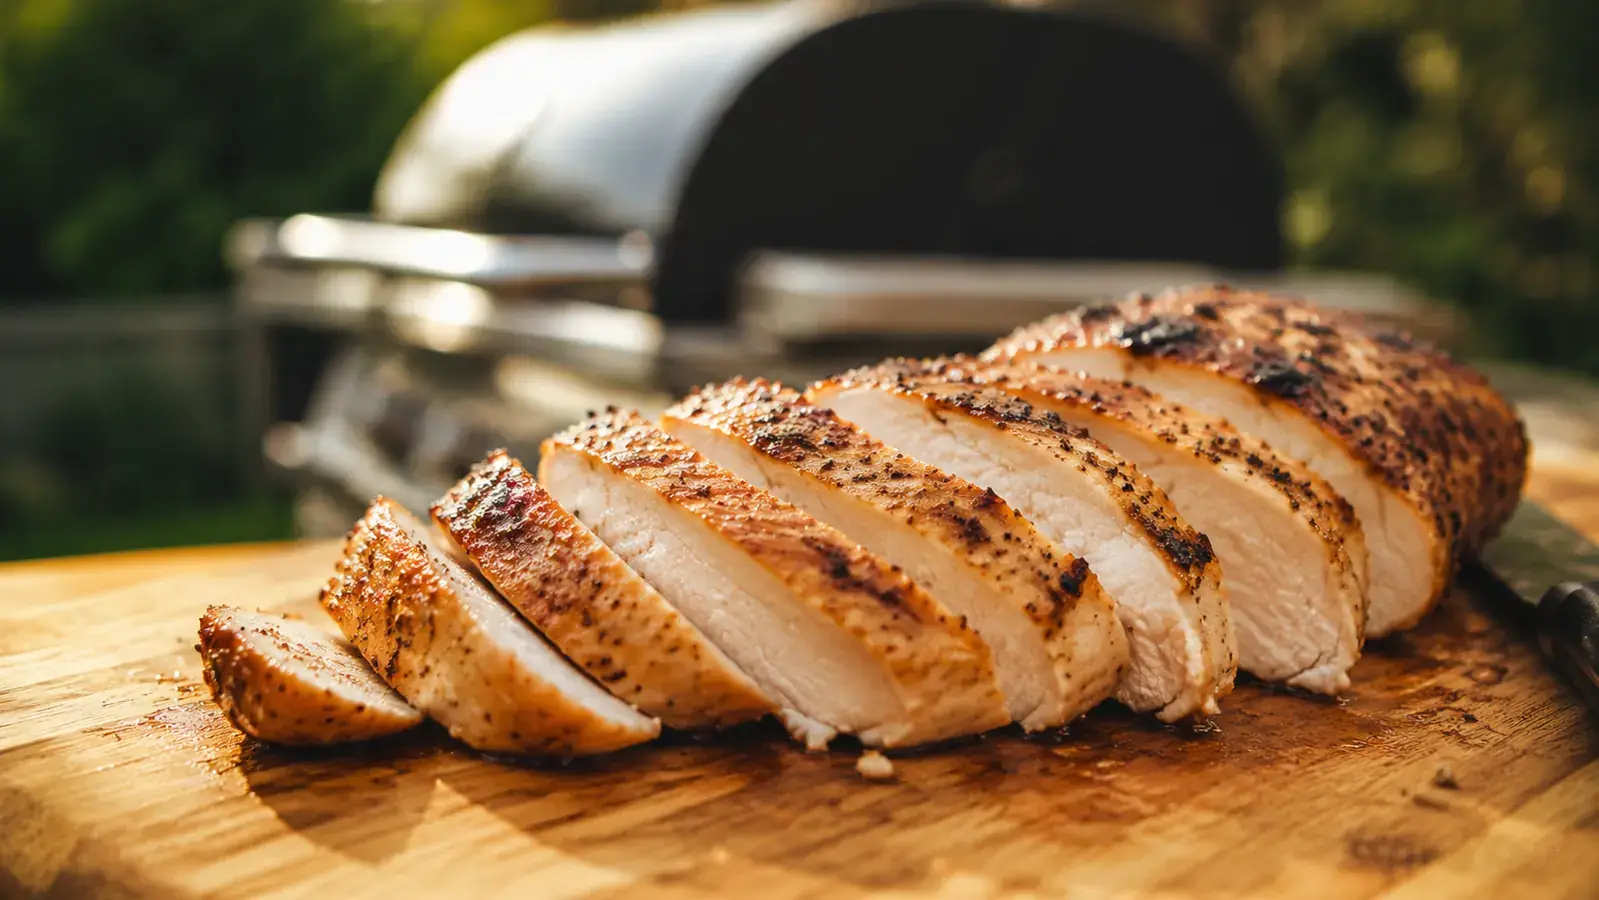
When the MEATER app alerts you that your target temp has been reached, do not slice immediately. The resting period is where the juices redistribute and carryover cooking adds the last few degrees. For brisket and pork shoulder, rest them at least 30 minutes, wrapped in butcher paper inside a cooler if you want to hold them for up to two hours without losing quality. For steaks and chops, five minutes on a cutting board is enough. The MEATER probe stays in during the rest and keeps logging, so you can watch carryover add 3 to 5 degrees on a steak and then plateau as it starts to cool. Pull the probe when you are ready to slice.
After the cook, the app saves the full temperature log. I use this to improve future cooks -- if my brisket took 13 hours at 250 degrees F ambient and I want to hit the table earlier next time, I can bump the smoker to 265 and estimate from there. The historical data is genuinely useful and something you will not get from a basic probe thermometer.
What Else Helps: Pairing the MEATER Plus With Good Grill Management
The MEATER Plus is not magic. It tells you what is happening inside the meat, but it cannot control your fire. For long cooks like brisket and pork shoulder, maintaining a steady 225 to 250 degrees F ambient temperature matters just as much as knowing the internal temp. On a charcoal or offset smoker, that means learning your fuel load and vent positions. On a gas grill or pellet grill, it is easier. The MEATER ambient reading is your continuous gut-check that the grill is holding temperature -- if it starts creeping past 275 on a low-and-slow cook, it is time to dial back a burner or close a vent before the bark overcooks.
If you are new to the MEATER Plus or thinking about picking one up, my full long-term review covers two years of heavy use, range testing, and the one thing I wish MEATER would fix. You can also read my breakdown of how it stacks up against the ThermoPro line if you are comparing wireless thermometers before buying. The right tool in the right situation makes all the difference, and for anything longer than a 20-minute chicken breast, the MEATER Plus earns its spot every single time.
Every cut, every time -- the MEATER Plus takes the guesswork off the grill for good
Over 48,000 reviews, rated 4.4 out of 5. Wireless, two-sensor probe with AI-estimated finish time. Works on gas, charcoal, smokers, pellet grills, and ovens. The best tool I have added to my backyard kit in 20 years of cooking.
Amazon Check Today's Price on Amazon →