I spent the first three years of my backyard cooking life convinced that my gas grill was a second-class citizen. The propane burners fired up fast, held temperature beautifully, and never once gave me that deep, bark-forming, nose-filling smoke that made the food at church cookouts taste like something special. I tried wood chips in foil pouches. I tried a cast iron smoker box that sat over the burner and spat out about twelve minutes of sad gray wisp before going cold. Nothing stuck. My ribs tasted like they came off a cafeteria flat top, and I knew it even when nobody said so out loud.
Then a neighbor named Curtis handed me something that looked like a long hexagonal cheese grater made of stainless steel and told me to fill it with hickory pellets, torch the end, let it flame for about a minute, then blow it out and set it on my grate. I thought he was pulling my leg. Twenty minutes into that first cook I had a thin blue smoke curling steadily across four pounds of pork tenderloin, and I could smell the difference from the back door of my house. That was the LIZZQ Premium Pellet Smoker Tube, and I have used one in some form on almost every backyard cook since. This guide covers exactly how to do it right, start to finish, so you get real smoke flavor the first time you try it.
Your gas grill is one small tube away from real smoke flavor.
The LIZZQ Pellet Smoker Tube produces up to five hours of steady smoke on any gas grill, charcoal kettle, or pellet grill. Rated 4.7 stars by nearly 15,000 backyard cooks. Check the current price on Amazon before your next cookout.
Amazon Check Today's Price on Amazon →Step 1: Choose Your Wood Pellets and Fill the Tube
The pellet smoker tube is only as good as what you put inside it. You want food-grade BBQ pellets, the same kind that goes in a Traeger or Pit Boss. Do not use wood chips, sawdust, or heating pellets. The moisture content and combustion rate on those are wrong and you will get more ash than smoke.
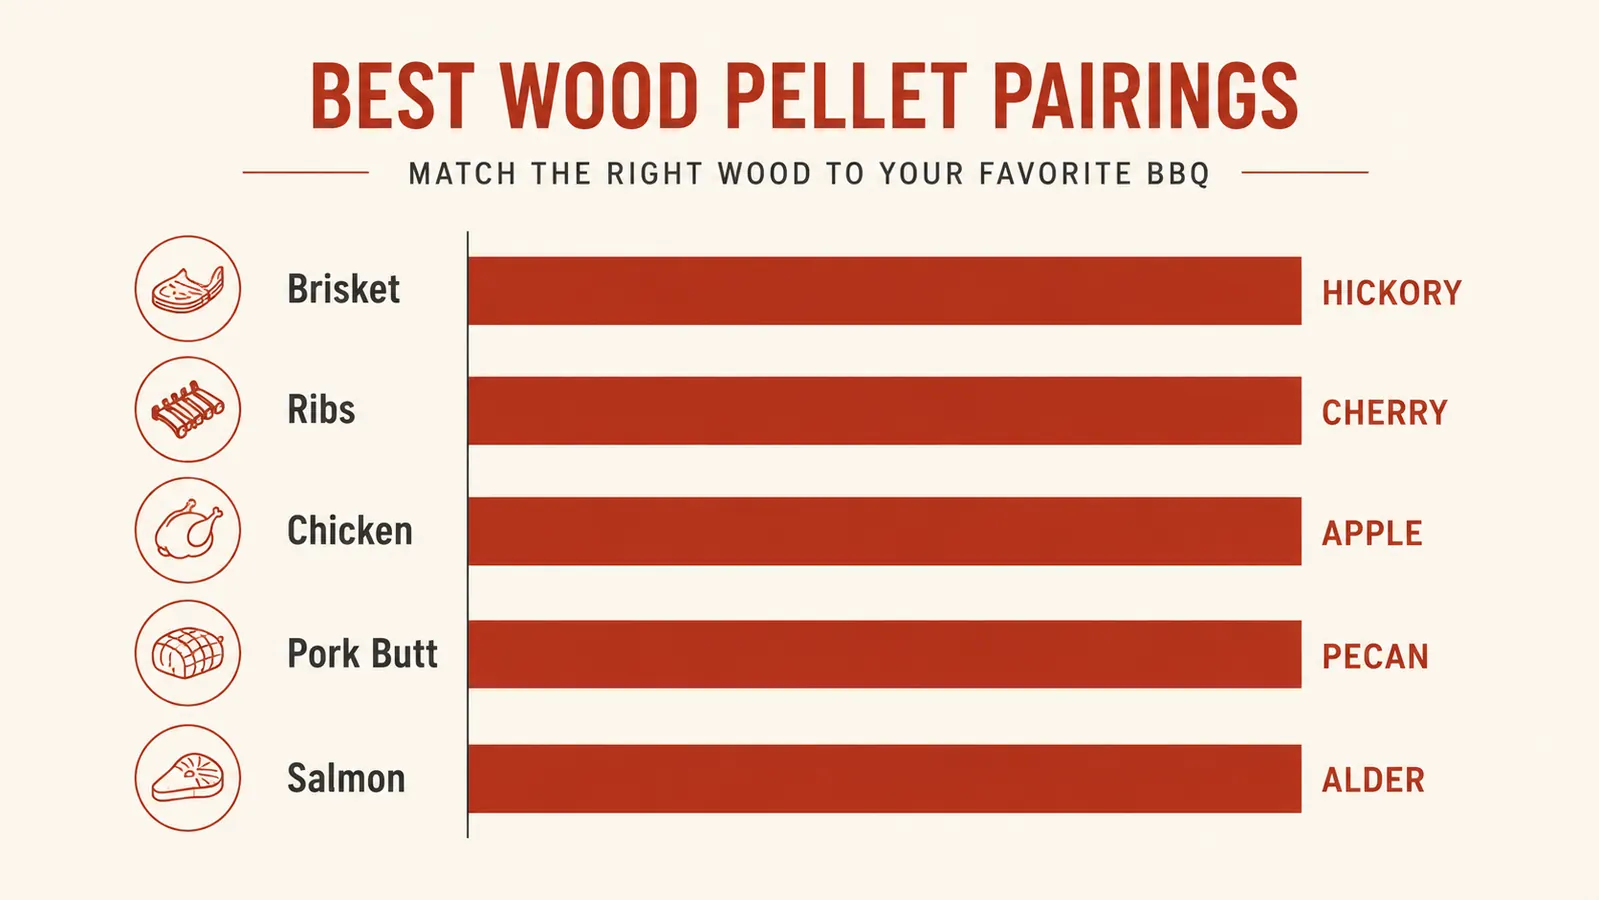
For most backyard cooks just getting started, hickory is the easy win. It reads as BBQ to almost everyone, works on pork, chicken, and beef without any fuss. Apple pellets burn a little sweeter and are the move for poultry and pork ribs if you want something less assertive. Mesquite burns hot and punchy, which is great for beef but can get harsh on a long cook if the tube is packed too tight. Cherry gives a mild sweetness and a deep mahogany color on the bark, and it mixes well with hickory if you want something in between.
Fill the LIZZQ tube completely, right to the top. Shake it a couple of times as you fill so the pellets settle and pack. A full 12-inch tube holds enough fuel for four to five hours of continuous smoke, which covers a full pork shoulder without a single reload. Leave a small gap at the top so you can set it flat without spilling, but do not leave the tube half-empty thinking you are being conservative. Half a tube burns out in ninety minutes and leaves you wondering why your ribs came out gray.
Step 2: Light the Tube Properly
This is where most first-timers go wrong, and it cost me two cooks before I figured it out. A lighter or a match is not enough heat to get pellets going properly. You need a butane torch or a propane torch lighter, the kind you can find at any hardware store for about ten bucks. A kitchen blow torch works fine too.
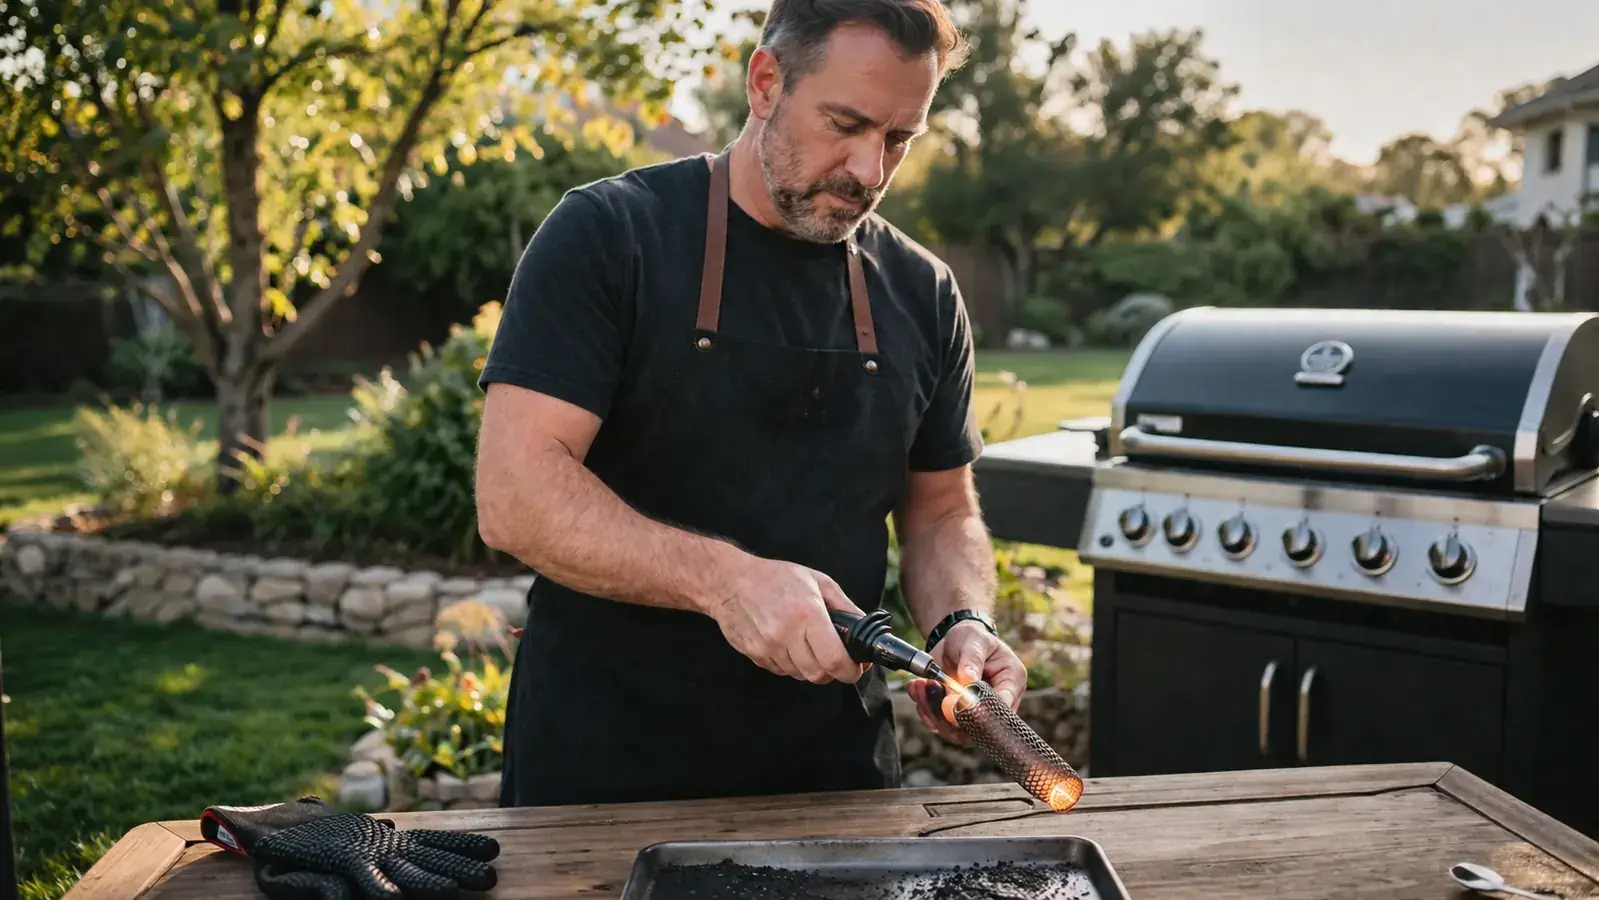
Hold the flame directly on the open end of the tube for a solid forty-five to sixty seconds. You want to see the pellets at the tip glowing bright orange, like the tip of a cigar, not just a little black char. Once you see that orange glow, let it flame for another thirty to sixty seconds. The tube will actually have a visible flame coming off it at this point, which looks alarming the first time but is exactly what you want. Then blow it out, the same way you would blow out a candle, and set it on your grate. From that point it will smolder and produce smoke for the duration of the cook. Do not skip the flame stage. If you torch it for fifteen seconds and set it down without letting it catch properly, you will get five minutes of smoke and then a cold tube full of half-burnt pellets.
If the tube keeps going out in the first few minutes, that almost always means the pellets were damp or you did not get a real ember going before blowing the flame out. Store your pellets in a sealed bag or container. A bag of pellets left open in a garage over a Memphis summer absorbs enough humidity to make lighting a real fight.
Step 3: Position the Tube on Your Grill
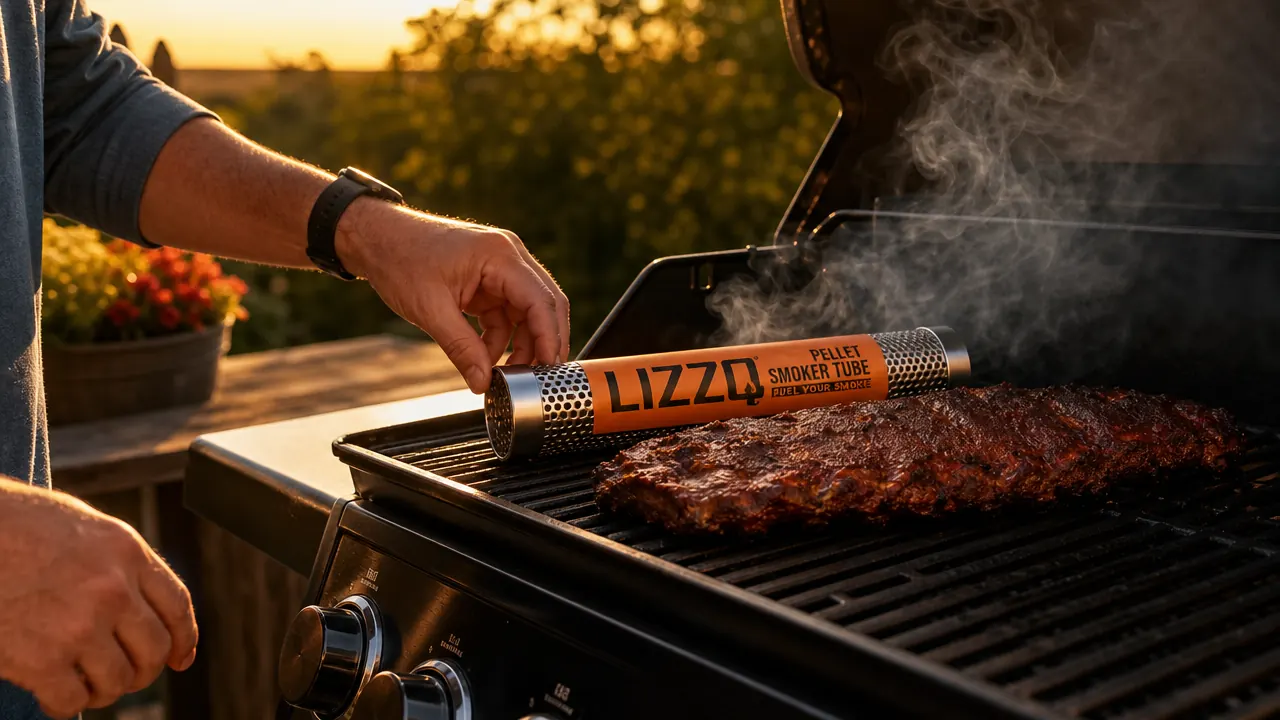
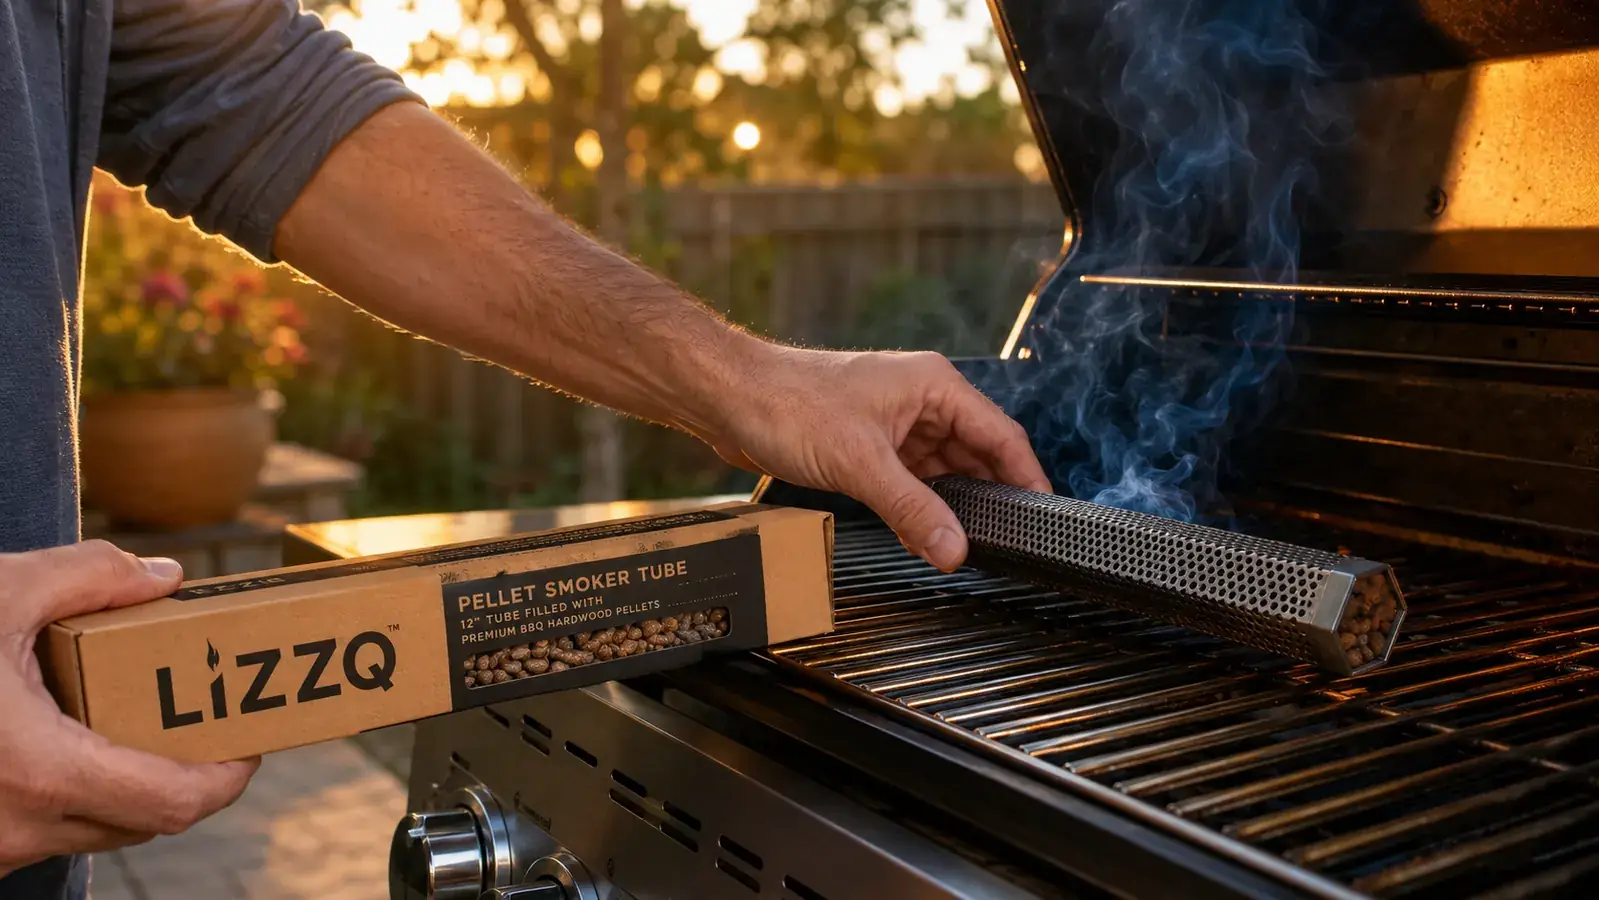
Where you put the tube matters more than most people expect. On a gas grill, place it directly on the grate over a turned-off burner, on the opposite side from where your food is cooking. This is a two-zone setup, and it matters. If you park the tube directly under your food with the burner blasting heat into it from below, the pellets will burn too fast, the smoke goes from thin and blue to thick and bitter in a hurry, and you end up with an acrid bite on your bark instead of that clean wood smoke sweetness.
Position the tube lengthwise along the back of the grate if your grill runs front-to-back, or crosswise if the burners run side-to-side. You want the ambient grill temperature handling the cook while the tube provides a slow, steady smoke source. On a 22-inch kettle grill, I drop the tube on top of the charcoal on the opposite side of the cooking area and let the coals both heat and smolder it. On a pellet grill, I set it on the grate at the back, away from the hopper side, to add a supplemental smoke layer on top of whatever the built-in system produces.
Thin blue smoke is what you are chasing. Thick white smoke means the pellets are burning too fast or the grill is running too hot around the tube. Back off the heat on that side and let it settle.
Step 4: Set Your Grill Temperature and Let the Smoke Work
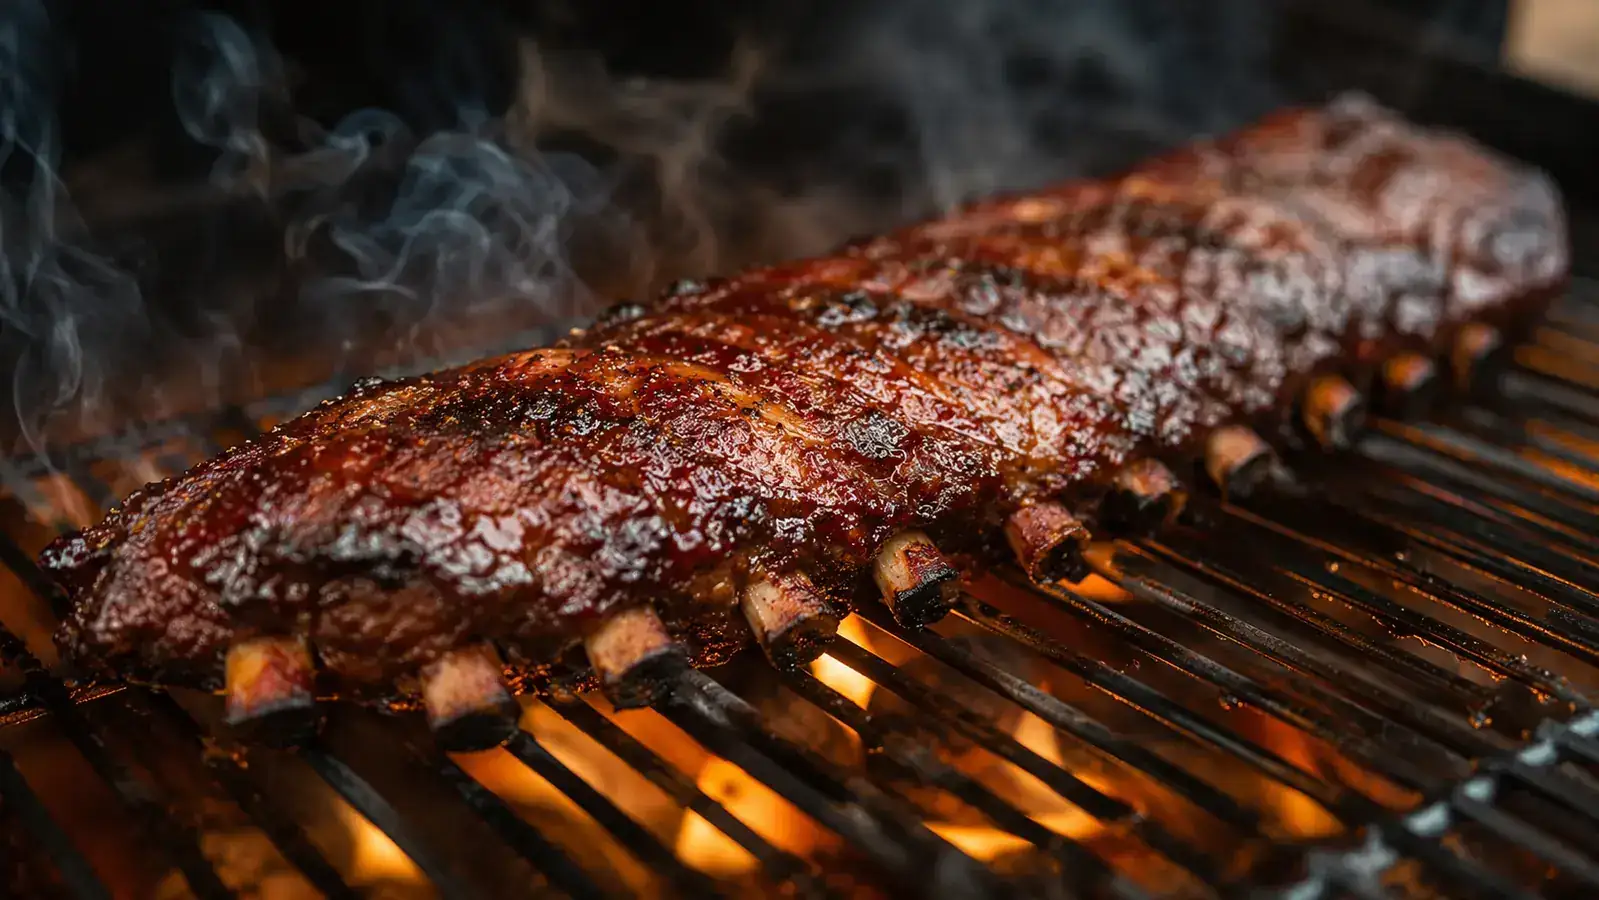
The tube does not need high heat to produce smoke. In fact, the lower the grill temperature around the tube, the longer and more consistently it will smolder. For indirect cooks like whole chickens, pork shoulders, and brisket, I keep my gas grill running at 225 to 250 degrees Fahrenheit on the burner side where my food sits, with the burner closest to the tube either off or at low. That ambient heat is enough to keep the tube smoldering without burning through it in an hour.
For quick-cook items like steaks, burgers, and salmon fillets, the timing works differently. Light the tube ten to fifteen minutes before you put food on the grill. By the time you add your food, you will have a steady smoke going. A twenty-minute steak cook over direct heat will pick up a noticeable smoke flavor in that window, even though you are grilling hot. I have smoked chicken wings this way for years. They go on indirect at 275, tube on the other side, lid down, forty-five minutes. The skin comes out crisp and the interior has a light smoke ring that looks professional.
Cold smoking is also an option with the LIZZQ tube, and it is the reason people use pellet tubes in kamado grills and offset smokers to add supplemental smoke without extra heat. For cold smoking cheese or salmon, you light the tube, let it smolder, and do not turn on any burner at all. The grill temperature stays at or near ambient. The tube burns for four to five hours and infuses whatever is inside with smoke flavor without cooking it.
Step 5: Clean and Store the Tube After Each Cook
The LIZZQ tube is 304-grade stainless steel, so it will not rust if you treat it reasonably, but ash buildup inside the hexagonal holes is real and it will choke your airflow if you ignore it over time. After every cook, once the tube is completely cool, tap the remaining ash out over a trash can. A dry pastry brush or a bottle brush works well for clearing out the holes. Do not run it through the dishwasher. The high heat of a dishwasher drying cycle can warp cheaper accessories and even stainless pieces over time. A quick hand rinse with warm water and a few seconds with the bottle brush is all it needs.
Store the tube somewhere dry. The pellets are more sensitive than the tube itself. Any bag of pellets with residual moisture will clump and light unevenly on the next cook. I keep mine in a gallon zip-lock bag with the air pressed out, inside a plastic tub in my garage. They stay fresh and dry for a full season that way without any extra effort. If you buy a larger bag of pellets, scoop out what you need for each cook and seal the rest immediately.
What Else Helps
A pellet smoker tube solves the smoke-flavor problem on a gas grill but there are a few other habits that compound the result. Dry brining your proteins overnight, meaning a simple coat of kosher salt left uncovered in the refrigerator, pulls moisture to the surface and creates a tacky pellicle that catches smoke molecules the way a freshly painted wall catches dust. A wet or slick protein surface lets the smoke slide right off. Dry brine your pork shoulder or your chicken thighs the night before and you will taste a clear difference in smoke penetration compared to straight-from-the-bag cooks.
Running the grill with the lid down as much as possible keeps the smoke circulating around the food instead of escaping. Every time you lift the lid you lose several minutes of accumulated smoke flavor. A wireless meat thermometer lets you monitor internal temperature without cracking the lid, which means the smoke stays where it belongs. If you are curious how the LIZZQ tube compares to a dedicated smoker box on a gas grill, I broke that comparison down in detail over at the pellet tube vs smoker box comparison. Short version: the tube wins on smoke duration and consistency by a significant margin. And if you want the full picture on what this tube does after a year and a half of real use, including the one scenario where I would reach for something else instead, check the long-term LIZZQ review.
Stop guessing at smoke flavor. The LIZZQ tube gives you five hours of steady smoke for less than the cost of a bag of charcoal.
Nearly 15,000 reviewers rate it 4.7 stars. Works on gas grills, charcoal kettles, pellet grills, and kamado cookers. One tube, one lighter, and your next backyard cook is a completely different animal.
Amazon Check Today's Price on Amazon →